Free Barista Training: The Subject of Steaming Milk
Milk is the second most important ingredient in most espresso-based drinks. Learning how to steam and pour milk appropriately will be an important part of your barista training. Get your free barista training with Barista Training Academy, where you can find plenty of barista information – from barista resume and cover letter to milk-steaming and espresso extraction.
For a barista, learning about how to steam milk will be important. To be sure, it takes practice. It takes a lot of practice. Your training with milk is essential. Otherwise, you won't be able to draw nice latte art and get more tips for it!
Remember that the kind of milk you use matters. It's easier to steam creamy fat cow milk. Almond or soy milk is the hardest to steam (because they are not really milk). You will also notice that steamed milk blends differently with different coffee roasting profiles. With some, it goes better, with others it just doesn't taste right.
For the meantime, let’s briefly discuss your goals with steaming milk as a barista:
- You only want to use enough milk that you will need for your drink. (This will eliminate waste)
- Heat the milk to a temperature range of about 150F degrees (or about 66C to about 70C)
- Time is everything, so your espresso shot and milk steaming should take about the same time
- You want to serve the drinks in a timely manner. You certainly don’t want to serve your drink after the milk and espresso have separated.

So how does steamed milk look like? There are a few basic steps to create really well-steamed milk.
When it comes to milk, you should create a tight micro-bubble structure. This means that after steaming milk is smooth and looks like smooth paint. If you happen to see any big bubbles on the surface it means your technique is wrong. Probably, you allowed too much air in the milk. Read further to learn how to steam your milk correctly.
Milk Steaming: Where to Start
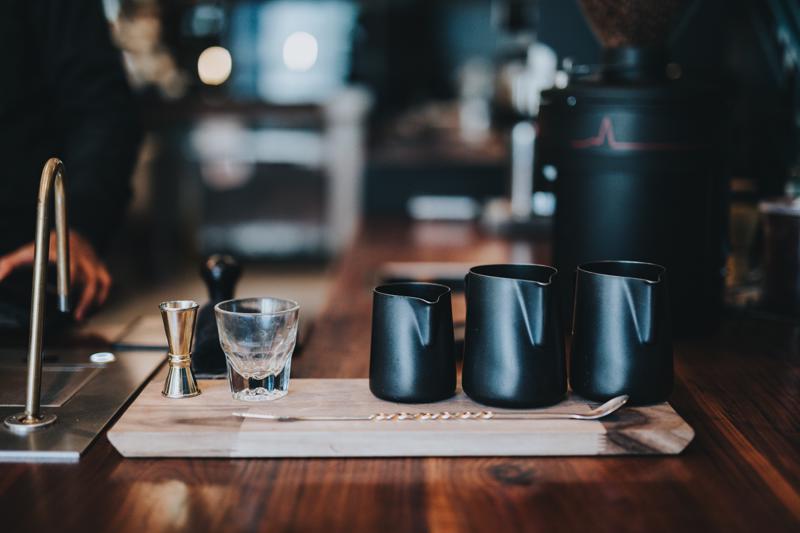
Start with choosing an appropriate size pitcher, preferably using the smallest pitcher you need to house the right amount of milk.
6oz Cappuccino – 12oz pitcher filled ⅓ full (roughly 4oz of cold milk)
8oz Latte – 12oz pitcher filled ½ full (roughly 5-6oz of cold milk)
12oz Latte – 20oz pitcher filled ⅓ full (roughly 7-8oz of cold milk)
16oz Latte – 20oz pitcher filled ½ full (roughly 10oz of cold milk)

Barista Training Techniques
Milk Steaming
- The first thing you want to do when you begin to steam your milk is purge your steam wand to get rid of any condensed water inside of it.
- Place the wand just slightly underneath the milk at an angle. The steam wand should be roughly about 30° looking from a vertical stance.
- Engage the steam wand to near full pressure (less depending on the type of drink).
- Begin frothing the milk. You will see the milk moving in a whirlpool motion. Keep steaming it until the pitcher gets a bit too hot to touch.
- The ideal serving temperature for steamed milk ranges from 135-155 F. A cappuccino or latte is supposed to be sipped right after being served. It means they shouldn't too hot to burn your tongue.
- After steaming, wipe and purge the steam wand.

Brought to you by Barista Training Academy, “The Beginning Barista” Your Ultimate Prep Guide to Getting Your First Job as a Barista” is an ultimate resource that is available online and is affordable for anybody who is looking to start a career in the coffee industry. For more information visit our blog.
